Custom Builds
Behind the Build: How a Custom Timber Project Comes to Life
15 April 2026 · 6 min read
Most clients have never commissioned a custom timber piece before. The unknown is what makes it feel risky. So we wrote down exactly how a project moves from a first conversation to a finished install — the same process we walk every client through on day one.
Stage 1 — The Client Brief
Every project starts with a conversation, usually on site. We're listening for three things: how the space will actually be used, what's inspiring you visually, and where the non-negotiables sit on budget and timeline.
By the end of the first meeting you should have a one-page brief in your inbox summarising what we heard. If anything is wrong, this is the moment to correct it — every later stage builds on this document.
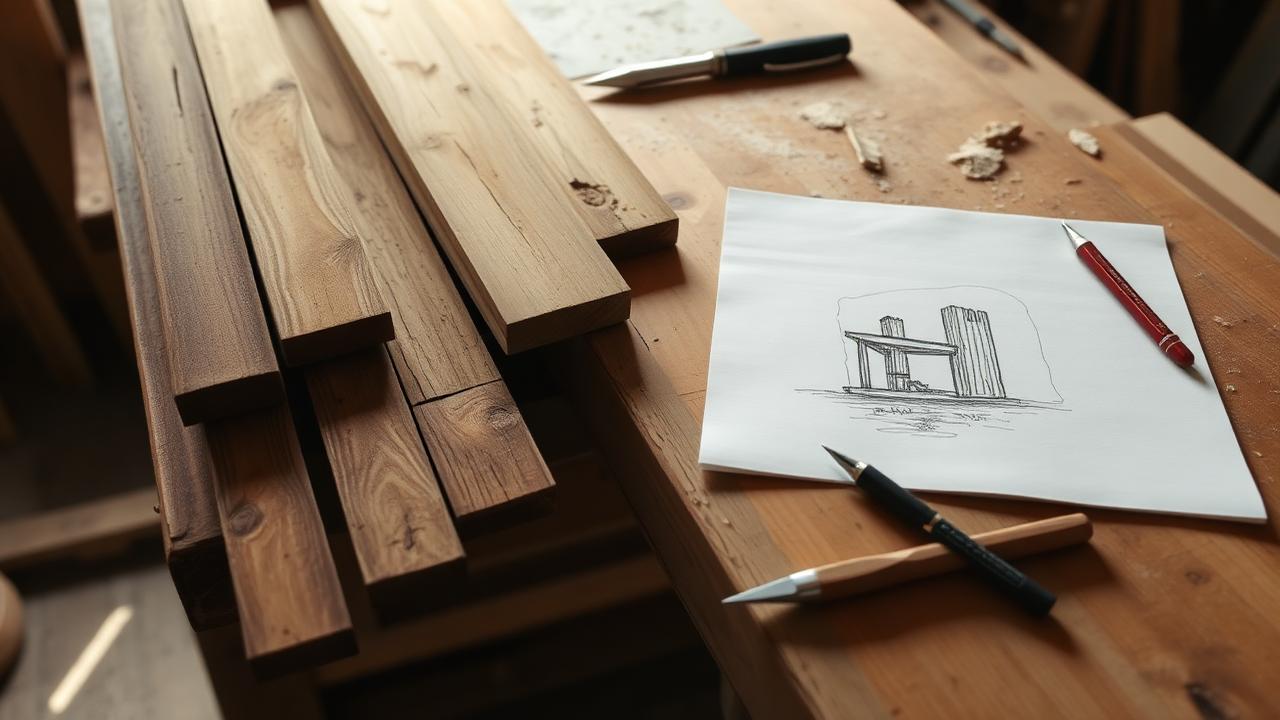
Stage 2 — Design Sketches
We sketch by hand first. It's faster, cheaper to change, and forces real design decisions before anything goes into CAD. You'll typically see two or three concepts within a week of the brief being signed off.
Once a direction is chosen, we move to scale drawings with timber species, joinery details and dimensions all locked in.
What you sign off on
Plan, elevations, a materials schedule, and a fixed price. After this point, changes become variations — so we make sure you have the time and information to be confident.
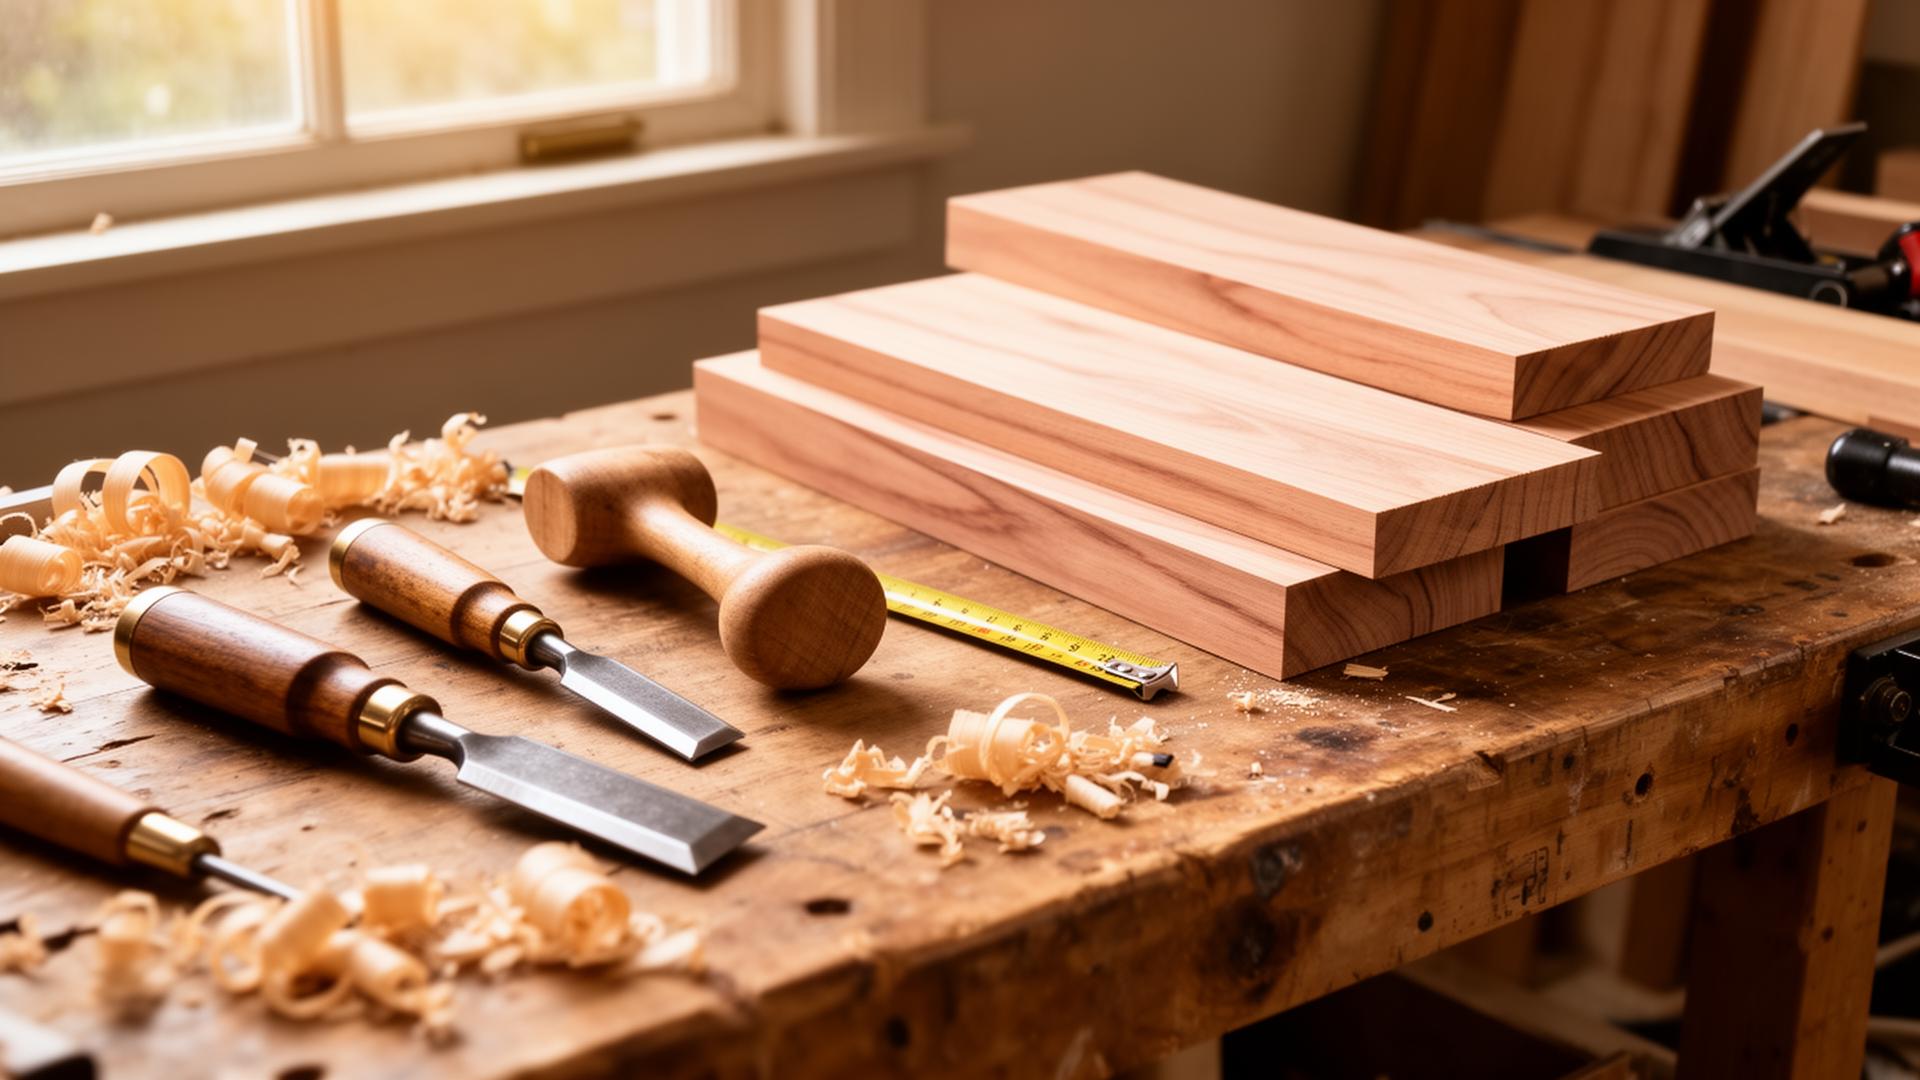
Stage 3 — Material Selection
Timber is a natural product — every batch is different. We bring physical samples to your home so you can see the grain, colour and finish in your actual light, against your actual walls.
We also walk through fixings, finishes and lighting at this stage. Small decisions here (bracket profile, oil vs hardwax, warm vs neutral white) define the final look more than people expect.
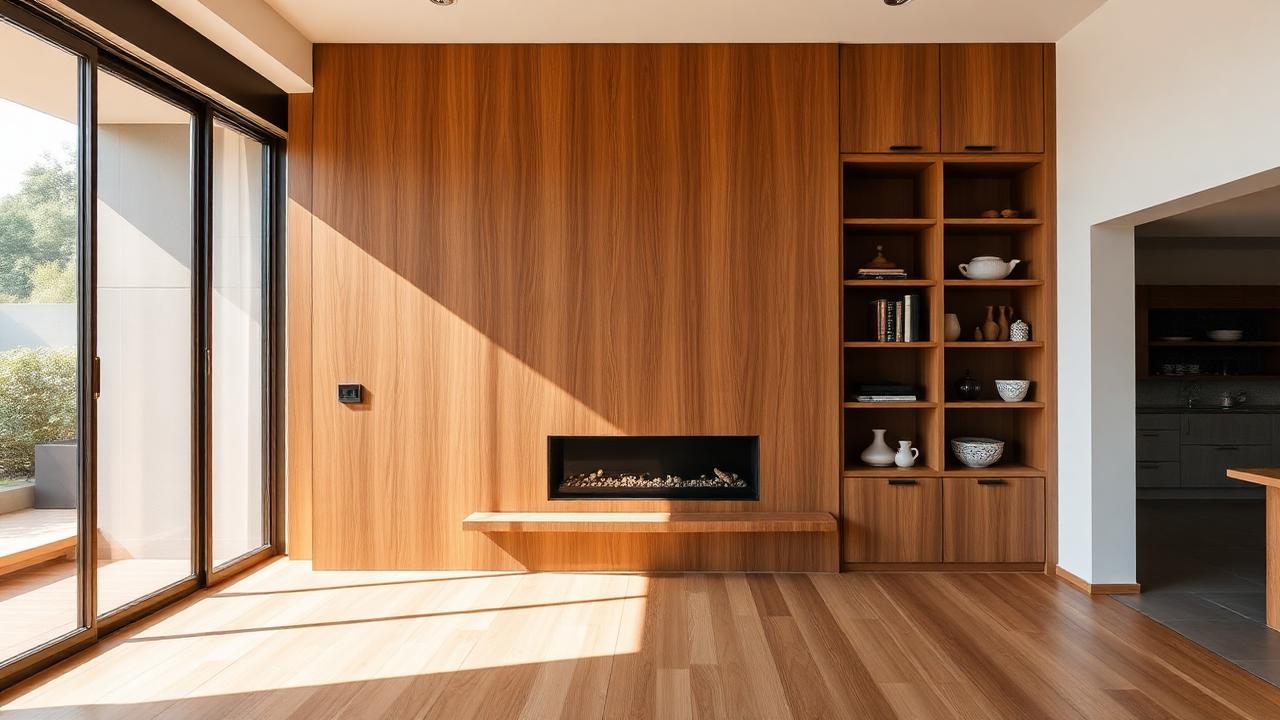
Stage 4 — Workshop Build
Most of the work happens off-site, in our workshop. Building in a controlled environment means tighter tolerances, better finishes, and far less disruption to your home. You'll get progress photos at major milestones — frame-up, dry-fit, finishing.
Workshop time varies by scope: a feature wall might be a week, a full custom kitchen four to six weeks.
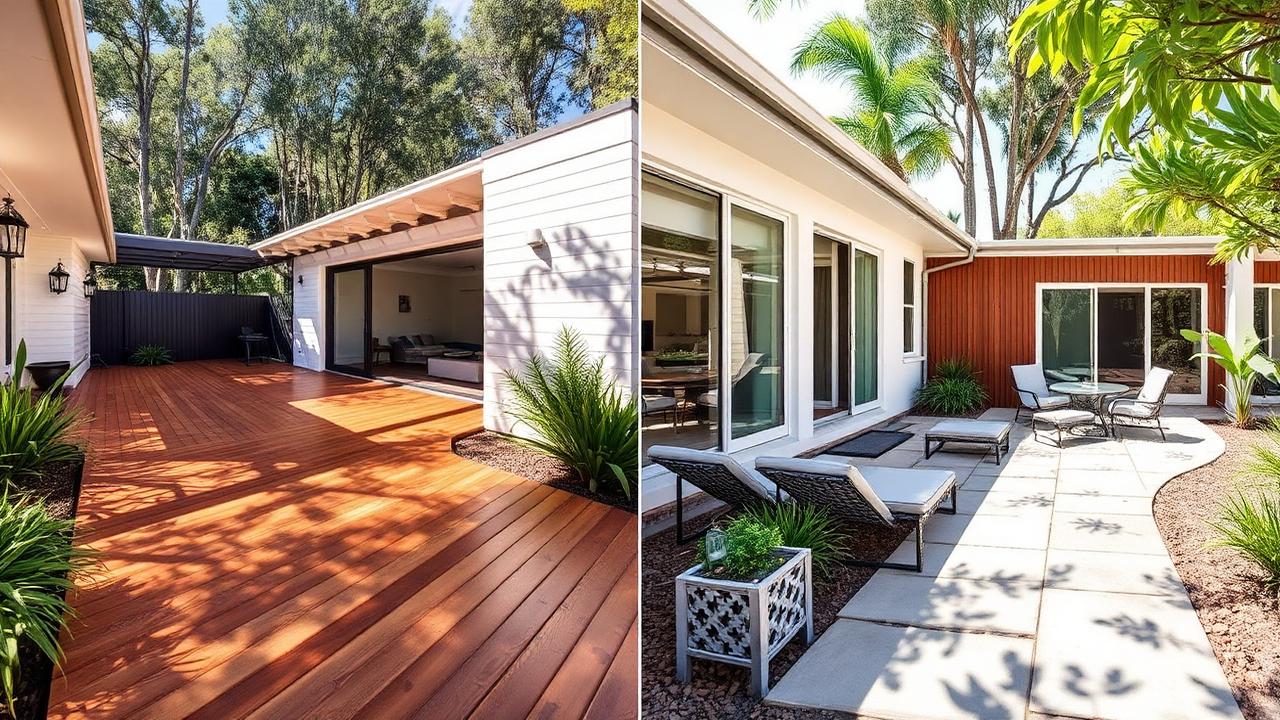
Stage 5 — Installation
Install is the visible bit — and the bit clients worry about most. Because the piece has been workshop-built and dry-fitted, on-site time is short. A typical feature wall installs in one to two days; a custom kitchen in a week.
We protect floors, manage dust, and clean up at the end of every day. The goal is for your home to feel less disrupted than you expected.
- One point of contact for the entire install
- Floor and surface protection on day one
- Daily clean-down so the site stays liveable
Stage 6 — The Final Reveal
Final reveal is our favourite day. We walk the project together, snag-list anything that needs adjusting, hand over care instructions, and book in a 90-day check-in to make sure everything has settled the way it should.
Six months later, we follow up again. Custom timber should look better at year five than it did at year one — and the only way to know is to keep showing up.
FAQ
Frequently asked questions.
How long does a typical custom timber project take from brief to install?
Smaller pieces (feature walls, built-in shelving) usually run 4–6 weeks end to end. Larger commissions (kitchens, full outdoor builds) typically run 10–14 weeks.
Can I make changes during the build?
Minor changes during workshop build are usually possible at cost. Major changes after sign-off become formal variations — we'll always quote them in writing before proceeding.
Do you provide care instructions after install?
Yes. Every project hands over with a written care guide specific to the timber and finishes used, plus a 90-day check-in built into the contract.
Ready to start?
Let's design your project.
A free, no-obligation consultation across the Sunshine Coast & Hinterland.
Get a free quote